How to Change Public to Private Network in Windows 11/10: A Step-by-Step Guide
In Windows 11/10, the way you set up your network profile—public or private—plays a crucial role in both the security and functionality of your system. By default, Windows often assigns public profiles to networks, which offers a higher level of security but limits sharing capabilities. On the other hand, private network settings allow for easier sharing of files and resources between devices, but they also come with some risks if not managed properly.
In this article, we will guide you through the process of changing your network from public to private in both Windows 10 and Windows 11, providing you with three simple methods to do so. Whether you’re at home or in a more secure environment, knowing how to manage these settings can improve your overall network experience.
Why You Should Change from Public to Private Network in Windows 11/10
Before diving into how to change your network profile, let’s first understand why switching from a public to a private network could benefit you.
-
Enhanced Security: Public networks, such as those in cafes or airports, are designed to be more restrictive to prevent unauthorized access. While this is great for security, it also means you won’t be able to share files, printers, or devices over the network. Switching to a private network allows trusted devices to communicate freely, improving your workflow at home or in secure environments.
-
Improved Connectivity: With a private network, you can enable features like file and printer sharing, device discovery, and remote desktop connection. This can significantly enhance your productivity, especially if you need to transfer files or use other resources within your network.
-
Better Control: A private network provides you with more control over your device’s interaction with the network. You can customize sharing and discovery settings, ensuring that your system remains secure while still allowing seamless access to other devices on the network.
In short, changing from a public to a private network can make your device more accessible in trusted environments, while still providing adequate protection from potential threats.
You may also find this helpful: How to Enable Remote Access in Windows 11: A Complete Guide
How to Change Public to Private Network in Windows 11/10
Now, let’s explore how you can easily switch from a public to a private network in Windows 11 and Windows 10. We’ll cover three common methods to help you make this change quickly and efficiently.
Method 1: Change Network Profile via Settings
The easiest way to change your network profile from public to private is through the Settings app. This method is user-friendly and works well if you’re connected to a network and need a quick change.
When to Use:
This method is ideal for users who want a fast and simple solution without accessing advanced settings.
Steps:
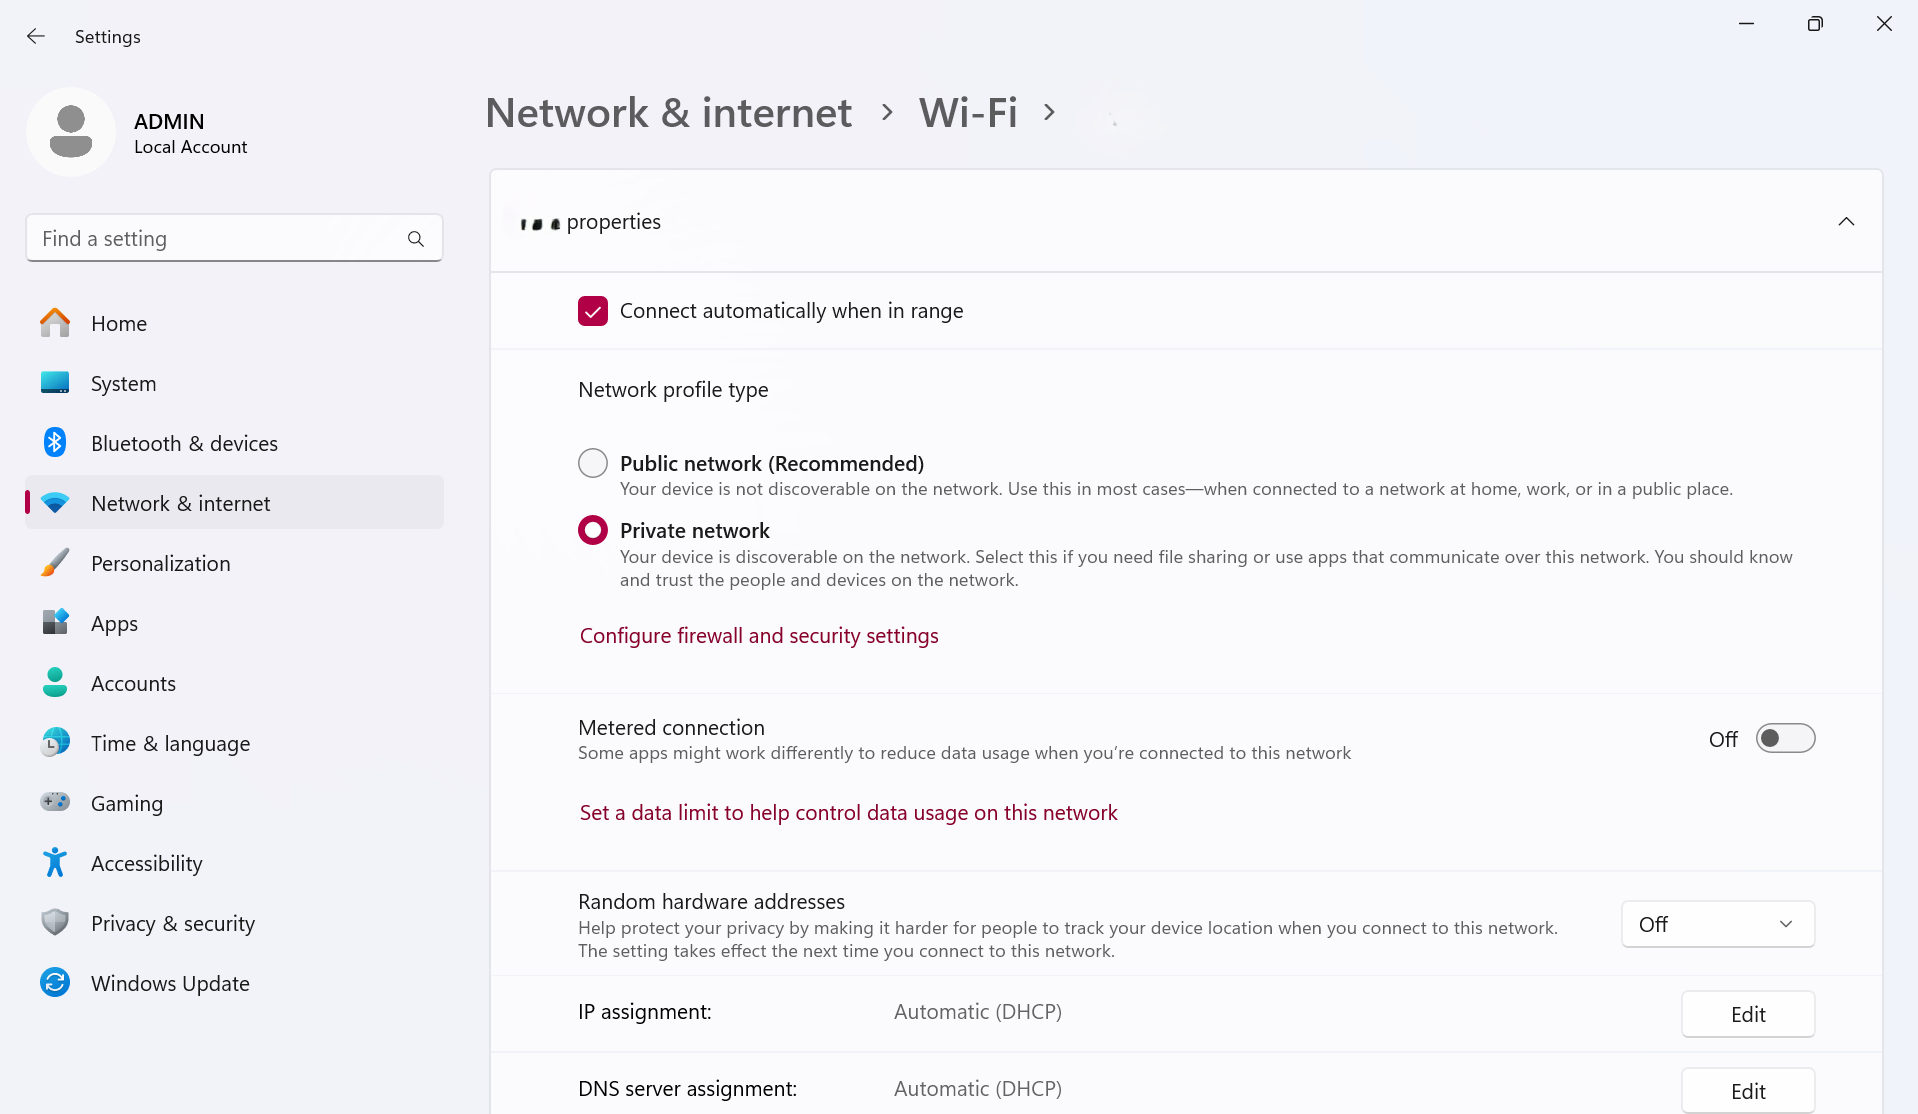
- Open Settings: Press
Win + Ito open the Settings app. - Navigate to Network Settings: In the left-hand menu, click on Network & Internet.
- Select the Network Type: Click on either Wi-Fi or Ethernet, depending on how you're connected to the internet.
- Choose the Connected Network: Select the network you're connected to. This will bring up its details.
- Switch to Private: Under the Network Profile section, select Private. This will immediately change your network to private, enabling device discovery and file sharing.
Changing your network to a private one using this method is quick and easy, making it perfect for casual users.
Method 2: Using PowerShell for Command-Line Users
For those who prefer using command-line tools, PowerShell provides an advanced way to change the network profile. This method is ideal for tech-savvy users or anyone who needs to automate the process.
When to Use:
Use this method if you’re comfortable with the command line or need to execute changes across multiple systems quickly.
Steps:
- Open PowerShell as Administrator: Press
Win + Xand select Windows PowerShell (Admin). - Enter the Command: Type the following command to change the network profile:
Get-NetConnectionProfile | Set-NetConnectionProfile -NetworkCategory Private - Press Enter: After pressing Enter, your network will be set to Private.
This method is faster than the others but requires familiarity with PowerShell and command-line tools.
Method 3: Change Network Profile Using Windows Registry Editor (Windows 10/11)
When to Use:
This method is ideal for advanced users who prefer to make deep system changes. The Windows Registry Editor allows you to modify your network profile settings directly without using Settings or PowerShell. This method works for both Windows 10 and Windows 11 and offers a more hands-on approach to changing your network profile from Public to Private.
Steps:
-
Open the Registry Editor:
- Press Win + R to open the Run dialog box.
- Type regedit and press Enter. If prompted by User Account Control (UAC), click Yes to proceed.
- Navigate to the Network Profile Key:
- In the Registry Editor, go to the following path:
HKEY_LOCAL_MACHINE\\SOFTWARE\\Microsoft\\Windows NT\\CurrentVersion\\NetworkList\\Profiles
This folder contains subkeys for all the networks your computer has connected to.
- Identify Your Active Network:
- Under the Profiles key, you'll find several subkeys, each representing a different network profile. You’ll need to identify the correct network profile by looking at the ProfileName value inside each subkey.
- To find the active network, open each subkey and check the ProfileName value to match it with the network you're currently connected to.
- Modify the Network Category:
- Once you've located the correct network profile, look for a value named Category.
- Double-click on Category, and change the value from 0 (Public) to 1 (Private) to switch the network profile to Private.
- Category = 0 means the network is set to Public.
- Category = 1 means the network is set to Private.
- Save and Exit: Click OK to save the changes after modifying the value. Close the Registry Editor.
- Restart Your Computer: For the changes to take effect, restart your computer. Once rebooted, the network profile will be set to Private, enabling file and device sharing.
Tips and Best Practices for Managing Network Profiles in Windows 11/10
-
Set Private for Home Networks: Always use a private network setting for your home or trusted networks. This ensures easy access to your devices and resources without compromising security.
-
Switch to Public for Public Wi-Fi: When using public Wi-Fi networks, switch back to the public profile to protect your device from unauthorized access. Public networks typically have fewer security features, so it's safer to use the public setting when you're outside your home.
-
Regularly Check Your Network Profile: It’s important to ensure that your network profile is correctly set, especially if you often switch between different networks. A quick check in the Settings or Control Panel can save you from issues down the line.
Conclusion
Changing your network from public to private in Windows 11/10 is a simple process that can greatly improve both the security and connectivity of your device. By switching to a private network, you can enjoy easier file sharing, resource access, and better control over your network settings. Whether you prefer using Settings, the Control Panel, or PowerShell, each method provides a reliable way to manage your network profile.
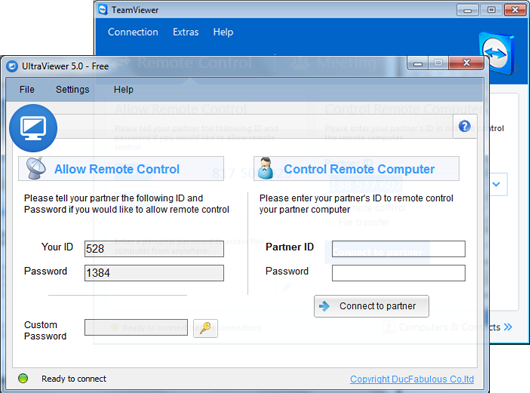
If you're looking for even more ways to manage your device remotely or collaborate with others on your network, consider using tools like UltraViewer. With UltraViewer, you can easily access and control another computer on your network, making it a perfect addition for home offices or small businesses.


Write comments (Cancel Reply)