How to Enable Remote Access in Windows 11: A Complete Guide
Learn how to enable remote access in Windows 11 to streamline your work, troubleshoot devices remotely, or access important files anytime. This comprehensive guide covers verifying your Windows 11 edition, enabling Remote Desktop, connecting through various devices, and exploring free alternatives like UltraViewer for seamless remote connections—even for Windows 11 Home users. Perfect for boosting productivity and staying connected wherever you are!
What is Remote Access?
In Windows 11, remote access primarily revolves around Remote Desktop Protocol (RDP), a built-in feature in Windows Pro and Enterprise editions. This tool allows users to connect securely to their desktop and use it as if they were physically present. However, not all editions of Windows 11 support this functionality natively.
How to Enable Remote Access in Windows 11
Step 1: Verify Your Windows 11 Edition
Before you proceed, it’s essential to determine if your version of Windows 11 supports Remote Desktop.
- Supported Editions: Windows 11 Pro and Enterprise come with native RDP support. These editions provide a secure and reliable connection to your system.
- Windows 11 Home Limitation: Unfortunately, Windows 11 Home lacks this built-in feature. To access Remote Desktop functionality, you’ll need to upgrade to Windows 11 Pro.
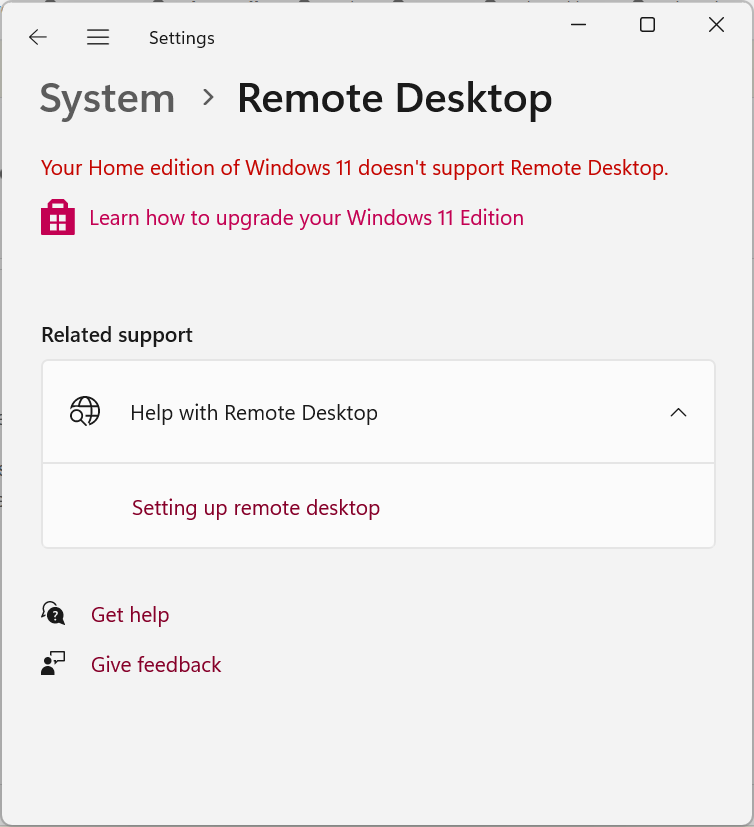
Upgrading to Windows 11 Pro
- Open Settings > System > Activation.
- Select the Upgrade option and follow the steps to purchase and activate Windows 11 Pro. This upgrade unlocks full access to Remote Desktop and other advanced features.
Step 2: Enable Remote Desktop
Once you’ve confirmed you’re using a compatible edition, enabling Remote Desktop is straightforward.
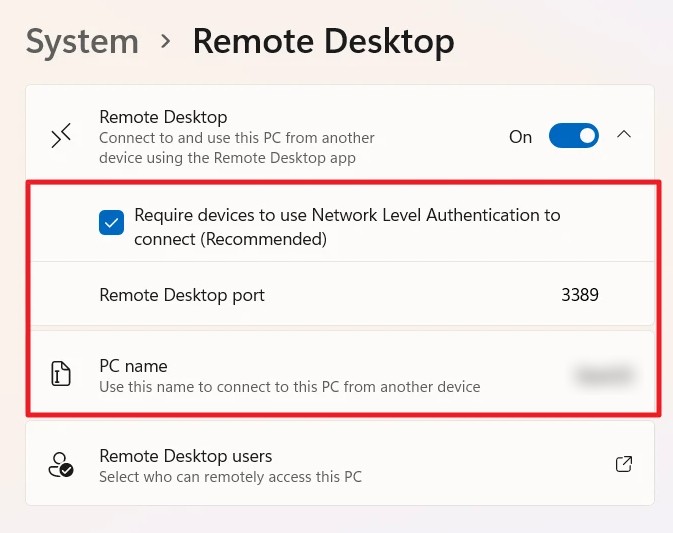
- Open Settings and navigate to System > Remote Desktop.
- Toggle the switch to Enable Remote Desktop.
- Confirm any prompts that appear, ensuring your settings are saved.
- Optionally, add specific user accounts under Remote Desktop Users to manage who can access your device remotely.
For added security, ensure that all users have strong passwords and consider enabling Network Level Authentication (NLA) in the settings.
Step 3: Configure Remote Access Connection
To access the device remotely, you’ll need its IP address or device name. You can find this by:
- Pressing Windows + R, typing
cmd, and entering the commandipconfigin the Command Prompt. - Note down the IPv4 address to use it in your Remote Desktop application.
How to Use Remote Desktop Connection in Windows 11
Once you've enabled remote access in Windows 11, the next step is knowing how to connect remotely. Whether you're using another Windows device or a non-Windows device like a Mac, Android, or iOS, Remote Desktop Connection makes it easy to access your system from anywhere. Here's how you can set up and use this feature on different platforms.
Using Windows Devices
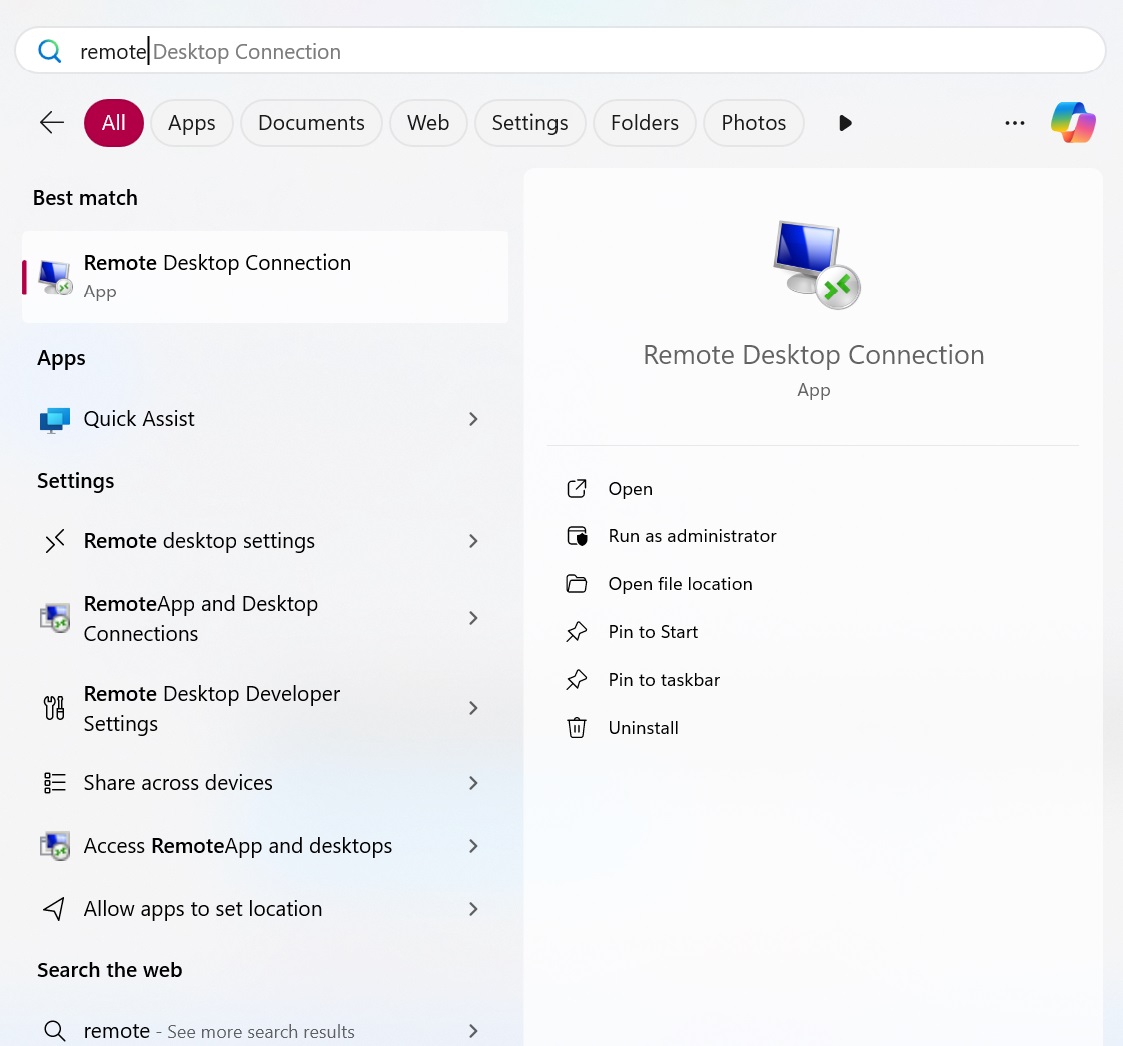
If you’re connecting from another Windows device:
- Open the Remote Desktop Connection app (search for it in the Start menu).
- Enter the target computer’s name or IP address.
- Click Connect, provide your login credentials, and you’ll be remotely connected.
Using Non-Windows Devices
For Mac, Android, or iOS devices, download the Microsoft Remote Desktop app from the respective app store.
- Install the app and launch it.
- Add a new connection by entering the Windows device's IP address.
- Save the connection and access your remote computer seamlessly.
Best Free Remote Access Software for Windows 11
If you’re using Windows 11 Home or need a simpler alternative, UltraViewer is a fantastic free option for remote access. This lightweight software enables users to connect remotely without requiring an upgrade to Windows 11 Pro.
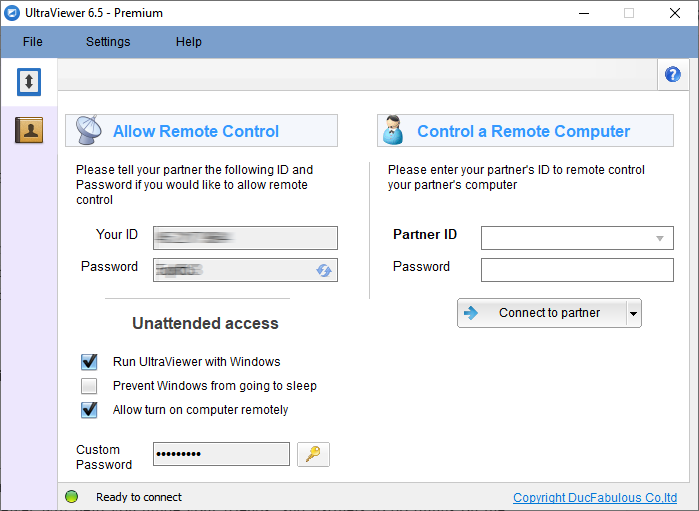
Advantages of UltraViewer:
UltraViewer offers a range of benefits that make it an excellent choice for remote access on Windows 11, especially for users who need a fast, easy, and free solution. Here are some of its key advantages:
-
Free to Use: UltraViewer is completely free for personal and small-scale professional use. This makes it an ideal option for individuals or businesses that want to remotely access computers without the need for expensive software or upgrades to Windows editions.
-
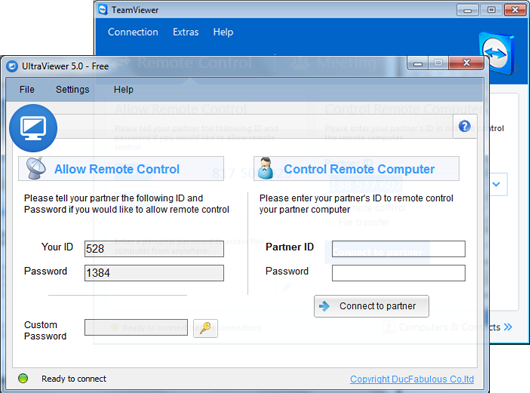
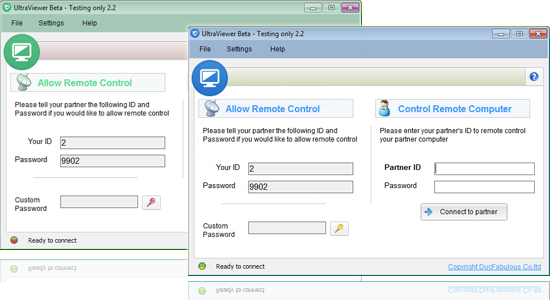
Simple Setup: UltraViewer’s installation process is straightforward and hassle-free. Simply download and install the software, and you’re ready to go. To enable remote access, all you need to do is share your unique ID and password with the person you're granting access to. This ensures that the setup process is quick and accessible, even for users without extensive technical knowledge.
-
Unlimited and Fast Access: Unlike some solutions that limit the number of connections or impose slowdowns, UltraViewer offers unrestricted and fast remote access. You can connect to devices instantly, no matter where you are, allowing for efficient troubleshooting, file transfers, or collaborative work in real-time.
-
Enhanced Security: UltraViewer comes with built-in security features to ensure safe connections. Your unique ID and password serve as the authentication method, and the software encrypts data transmission to protect your privacy.
With these features, UltraViewer is a top choice for users who want to maximize their remote access capabilities without any of the restrictions or complexities that come with traditional remote desktop solutions. It provides the flexibility to stay connected and productive, regardless of the version of Windows you're using.
Whether you need to help someone troubleshoot or access your files from afar, UltraViewer provides a reliable and cost-effective solution. Download UltraViewer Free Now Today!
Conclusion
Enabling remote access in Windows 11 opens up a world of possibilities for remote work, IT support, and device management. While Windows 11 Pro and Enterprise offer robust RDP capabilities, users of Windows 11 Home can explore free tools like UltraViewer for seamless remote access. By following this guide, you can set up and use remote access efficiently, ensuring productivity and convenience wherever you are.



Write comments (Cancel Reply)