Fix TeamViewer Sound Not Working: Easy Step-by-Step Solutions
TeamViewer sound not working is a common issue that can be frustrating, especially when you’re trying to collaborate remotely and need to hear audio from the other machine. But don’t worry – whether you're troubleshooting for work or personal use, there are straightforward fixes for this problem. This guide will walk you through several effective methods to solve it and get your audio back on track.
Before we dive into the technical fixes, let’s take a moment to cover the basics. Ensure that the remote computer's sound system is working properly and that both machines are running updated versions of TeamViewer. If the basics are covered and you’re still scratching your head wondering why there’s no sound in TeamViewer, let’s explore some advanced solutions.
1. Check Audio Settings in TeamViewer
Ensuring that TeamViewer sound is not working due to a simple settings oversight is an easy fix, but it's often the first thing to check. Follow these steps to make sure your audio settings are correctly configured during remote control sessions:
For Remote Control Sessions:
- Launch TeamViewer on your computer and make sure you’re using the latest version for the best performance.
- In the main window, click on Extras > Options to access the settings menu.
- Go to the Remote Control tab, and make sure the box next to Play computer sounds and music is checked.
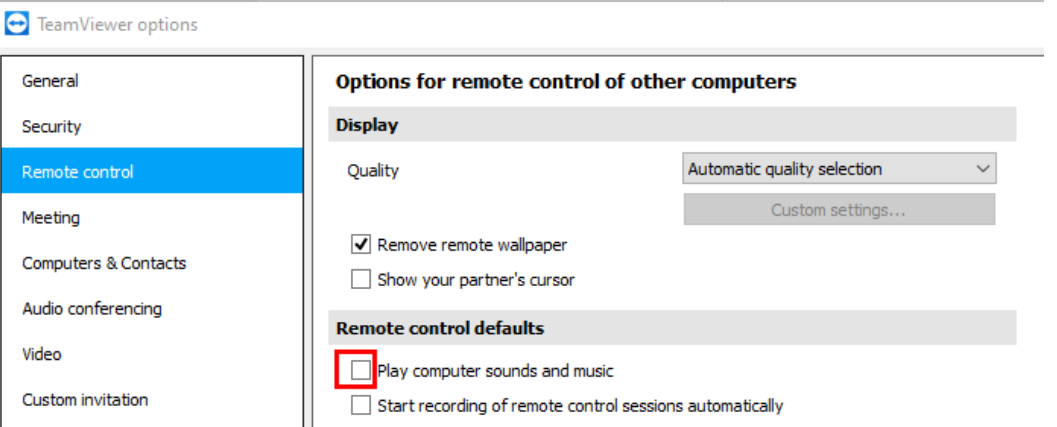
By enabling this option, you'll allow audio to transmit from the remote machine to your local one. It's important to check that both the local and remote computers have this setting enabled to ensure smooth sound transmission.
For TeamViewer Meetings:
If you're using TeamViewer Meeting instead of remote control, the process is just as simple:
- During a meeting, click on the Cog icon found within the Screen sharing section.
- Choose Share computer sounds and music, and your audio will be instantly transmitted to the other participants without delay.
Alternatively, you can access the audio settings through Extras > Options, click the Meeting tab, and ensure the Share computer sounds and music option is checked.
These are the essential steps for enabling sound sharing in both TeamViewer remote control sessions and meetings. If you later decide to turn off audio sharing, simply follow these same steps and uncheck the corresponding options.
2. Adjust Sound Settings on Both Computers
If you’ve confirmed that TeamViewer sound not working isn’t due to incorrect settings in the software, the next step is to check the sound settings on both your local and remote computers. Here’s a detailed guide to help you fix any potential sound issues:
Step 1: Check Sound Settings on the Local Computer
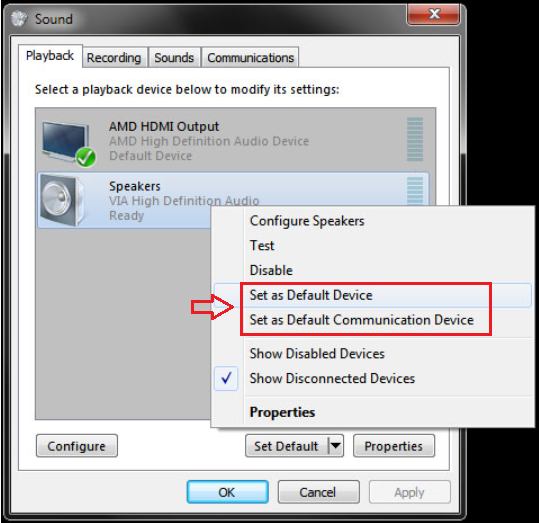
- Open the Windows Start menu on your local machine and type “sound settings.” Select Sound from the search results.
- Navigate to the Playback tab, where you’ll see a list of available audio devices. Right-click on your preferred audio device and select Set as Default Device and Set as Default Communication Device to ensure it’s correctly prioritized for all audio outputs.
Step 2: Adjust Sound Settings on the Remote Computer
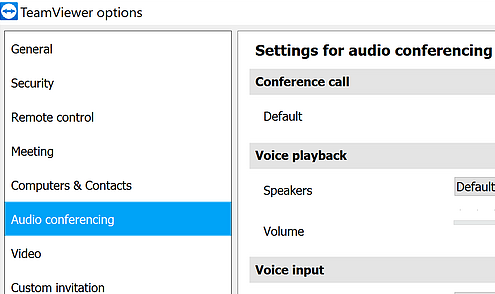
- On the remote machine, right-click the TeamViewer icon in the system tray and select Options.
- In the Options menu, go to Audio conferencing > Voice playback and set the Speakers option to Standard playback device. Don’t forget to turn the volume slider all the way up to ensure you can hear clearly.
Step 3: Match Audio Settings on Both Computers
To prevent any conflicts, repeat the process from Step 2 on your local computer to ensure the Audio conferencing settings match on both ends. This synchronization helps TeamViewer establish a consistent audio connection, reducing the chance of sound issues.
3. Firewall or Security Software Interference
Sometimes, your firewall or antivirus software can interfere with TeamViewer’s ability to transmit sound. Ensure that TeamViewer has the proper permissions: Check that TeamViewer is allowed through your firewall on both the local and remote machines.
If you’re using third-party security software, check its settings to ensure that TeamViewer is whitelisted for both remote access and sound transmission.
4. Reinstall TeamViewer
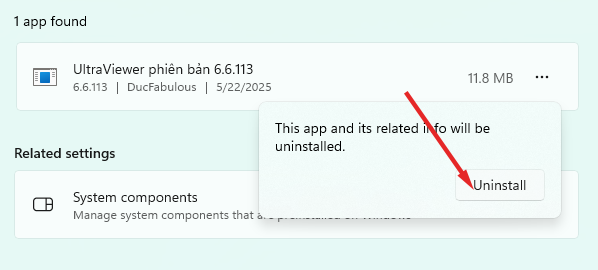
When all else fails, sometimes the quickest fix is a complete reinstall. Simply uninstall TeamViewer on both the local and remote computers, download the latest version from the official website, and reinstall it. Reconnect the remote session and see if the sound works.
5. Switch to a Free Alternative: UltraViewer
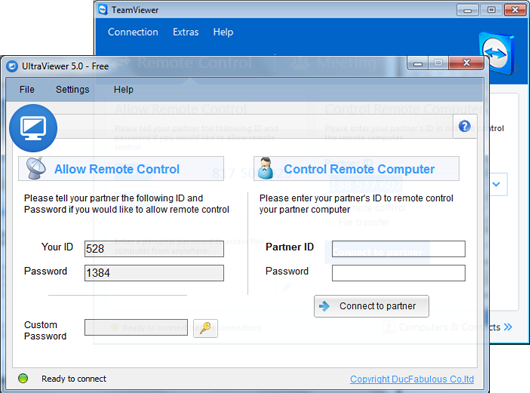
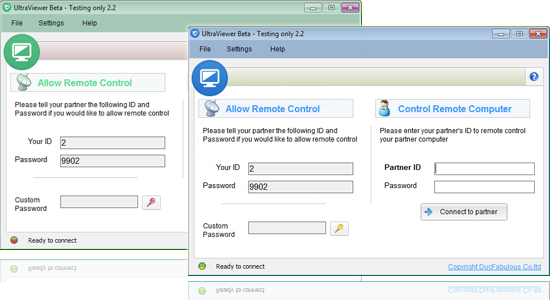
If you’ve tried all the above fixes and still can’t get TeamViewer sound working, you might want to consider switching to a free remote desktop software like UltraViewer. UltraViewer provides similar features to TeamViewer, but with fewer limitations, making it an excellent alternative for personal and professional use. One standout feature? UltraViewer lets you easily hear sound from the remote computer, solving one of the most common complaints about TeamViewer.
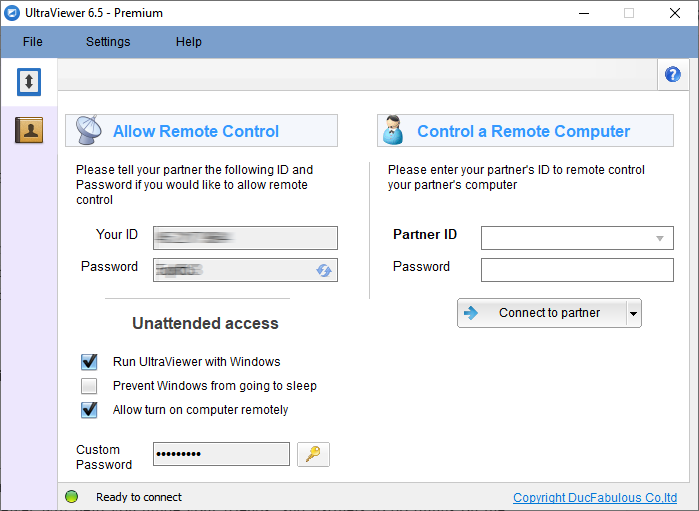
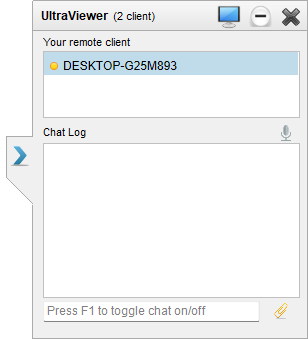
What’s more, UltraViewer is soon rolling out a fantastic new Voice Chat feature that will take remote control to the next level. This feature will allow users to engage in real-time conversations through a microphone icon in the chat window. With Voice Chat, the person speaking can transmit their voice directly to the recipient's computer for crystal-clear, instant communication. The recipient can simply click on the mic icon to reply, making interactions as smooth and natural as a regular phone call. Sounds pretty cool, right?
There’s nothing worse than struggling with TeamViewer sound not working, especially when you’re trying to get important work done remotely. Fortunately, by following the steps above, you should be able to resolve the issue and restore sound to your remote sessions. But if you’re looking for a reliable alternative, give UltraViewer a try. It’s free, easy to use, and offers great features, including sound transmission and the upcoming Voice Chat feature, making remote work and collaboration even better!



Write comments (Cancel Reply)