How to Use the Record Video Feature in UltraViewer
The Record Video feature in UltraViewer allows you to capture and save video recordings of remote control sessions for future reference. Here's a step-by-step guide on how to use this feature:
1. Accessing Settings:
- Open UltraViewer and navigate to the Menu.
- Click on "Settings" and then select "Options."
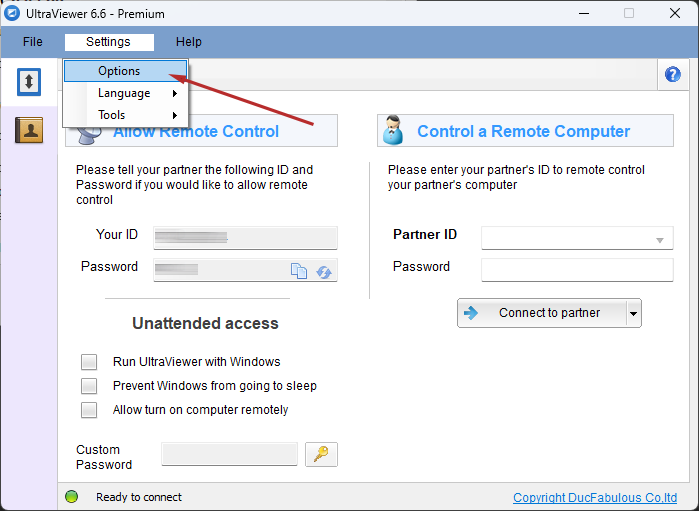
Click on "Settings" and then select "Options."
2. Navigating to Chat History and Configuring Record Video Settings:
- In the Chat History section, find the "Record Video" option.
- Click on the "..." button next to the "Store Path" textbox.
- Choose the desired folder where you want to save the recorded video files.
- Make sure to tick the checkbox labeled "Record partner's video."

3. Accessing Recorded Videos:
With the Record Video settings configured, start a remote control session as usual. During the remote control session, UltraViewer will automatically record the video and save it to the specified folder.
- After concluding the remote control session, navigate to the folder where you configured the recordings to be saved.
- Look for files with the ".uvr" extension, which represent the recorded video sessions.
4. Viewing Recorded Videos:
- To watch a recorded session, simply double-click on the corresponding ".uvr" file.
- UltraViewer will open the recorded video, allowing you to review the remote control session.
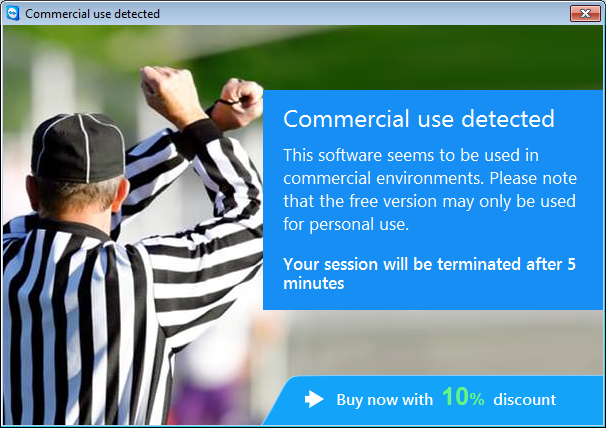
Important Note: Please be aware that the Record Video feature is currently exclusive to UltraViewer Premium license holders. If you are using the free version of UltraViewer and wish to access this feature, kindly consider purchasing a Premium license to unlock its full functionality.
By following these steps, you can effectively utilize the Record Video feature in UltraViewer to capture and review remote control sessions with ease.


Write comments (Cancel Reply)